Named routes are useful when want to refer to routes by name instead of URL. In Vue.js, we can make use of the name property in router configuration to provide a name to a specific route.
const router = createRouter({
  history: createWebHistory(),
  routes: [
    {
      path: "/my-component/:id",
      component: MyComponent,
      name: "myComponent",
    },
  ],
});
In this article, we will look at how to implement named routes in a Vue.js application.
We will begin by creating a new application using Vue CLI.
❯ vue create named-routes-demo
Once, the installation is complete, we can navigate to the folder and run the server to load the application.
❯ cd named-routes-demo
❯ npm run serve
This will run our server on port 8080 by default http://localhost:8080/
Next, we will install the vue-router package required for routing. We can install it using CDN, npm or yarn.
npm:
npm install vue-router@4
yarn:
yarn add vue-router@4
Once the package is installed, we can integrate it with our Vue.js application.
Next, we will create a component TheProduct
touch src/components/TheProduct.vue
Let’s add some code to display the product id.
<!-- TheProduct.vue -->
<template>
  <h2>Product id: {{ $route.params.id }}</h2>
</template>
We will make changes to the main.js file to include the router configuration.
// main.js

import { createApp } from "vue";
import { createRouter, createWebHistory } from "vue-router";
import App from "./App.vue";

import TheProduct from "./components/TheProduct";

const app = createApp(App);

const router = createRouter({
  history: createWebHistory(),
  routes: [
    {
      path: "/product/:id",
      component: TheProduct,
      name: "product",
    },
  ],
});

app.use(router);
app.mount("#app");
Here, we have specified the name property with the value product. Let’s call it from the App.vue file.
<!-- App.vue -->
<template>
  <div>
    <router-link :to="{ name: 'product', params: { id: 1 } }">
      Product 1
    </router-link>
  </div>
  <div>
    <button @click="goToProduct">Product 2</button>
  </div>
  <router-view></router-view>
</template>

<script>
export default {
  name: "App",
  methods: {
    goToProduct() {
      this.$router.push({ name: "product", params: { id: 2 } });
    },
  },
};
</script>

<style>
div {
  margin: 20px;
}
</style>
In this case, we have specified router-link and a button that calls a method goToProduct() which makes use of $router.push(). Both make use of the name property instead of using the hardcoded URL.
<router-link :to="{ name: 'product', params: { id: 1 } }">
  Product 1
</router-link>
this.$router.push({ name: "product", params: { id: 2 } });
Let’s look at the output:

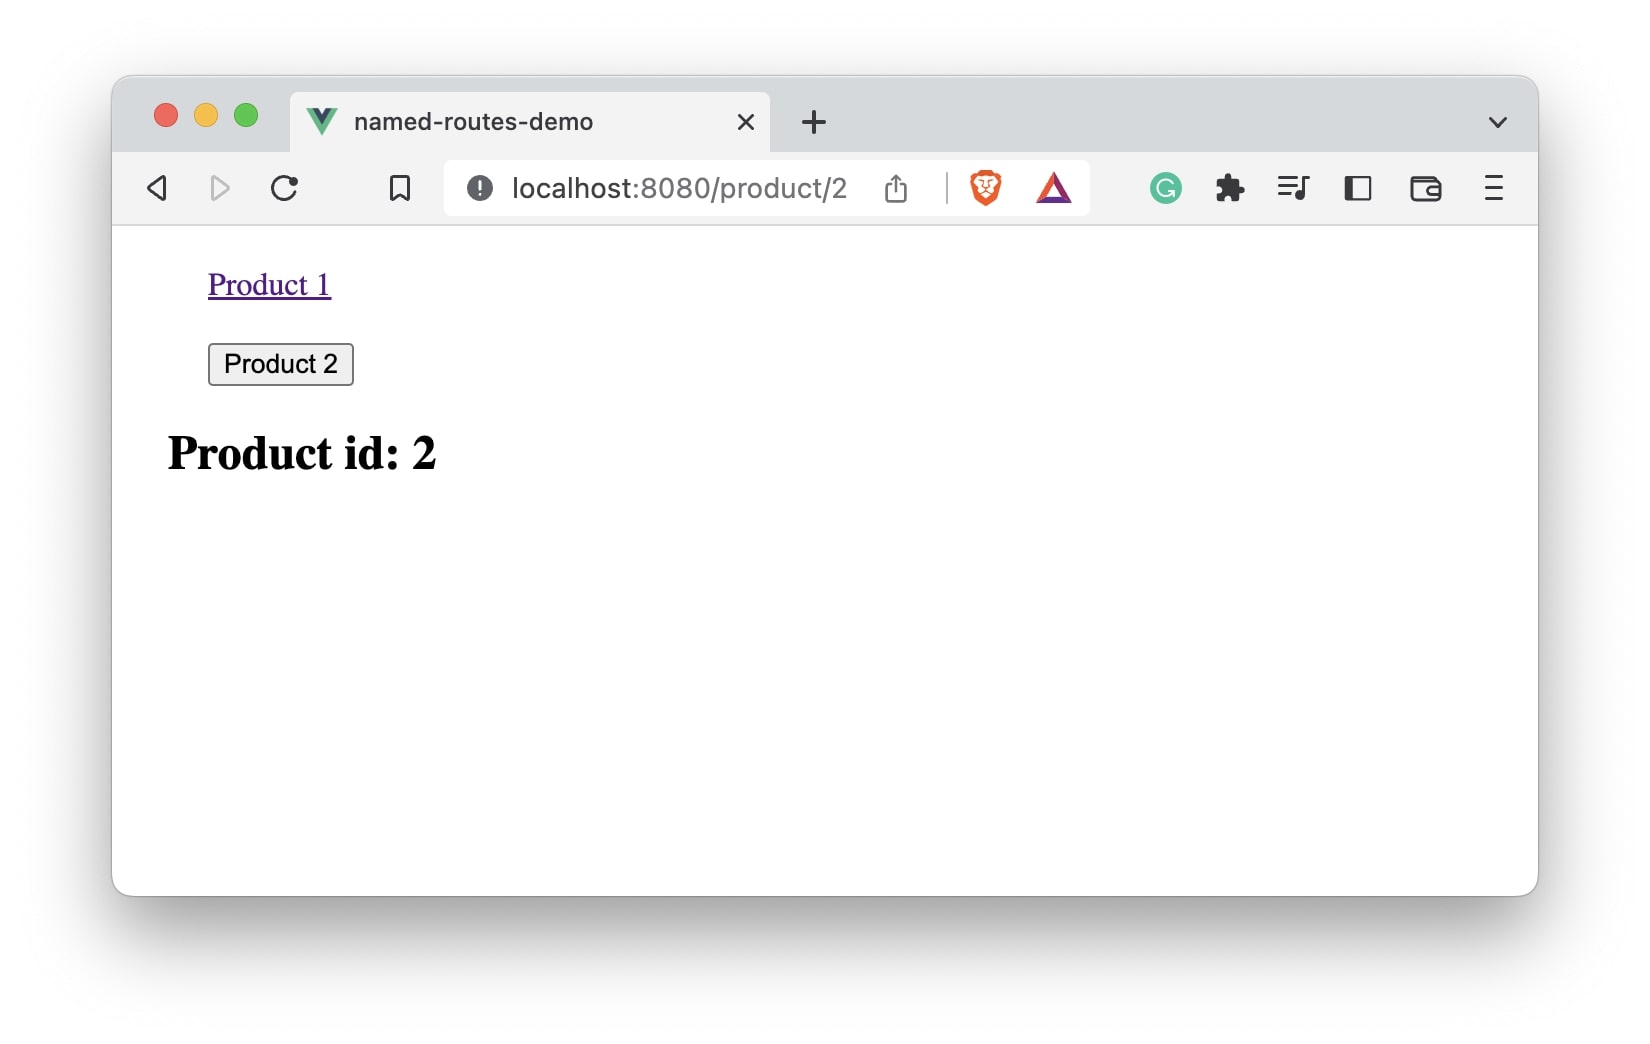
This is how you can implement named routes in Vue.js!