In this article, we will look at how to work with the <input> element to create radio buttons in Vue.
We will begin by creating a new application using Vue CLI.
❯ vue create radio-button-demo
Once, the installation is complete, we can navigate to the folder and run the server to load the application.
❯ cd radio-button-demo
❯ npm run serve
This will run our server on port 8080 by default http://localhost:8080/
v-model
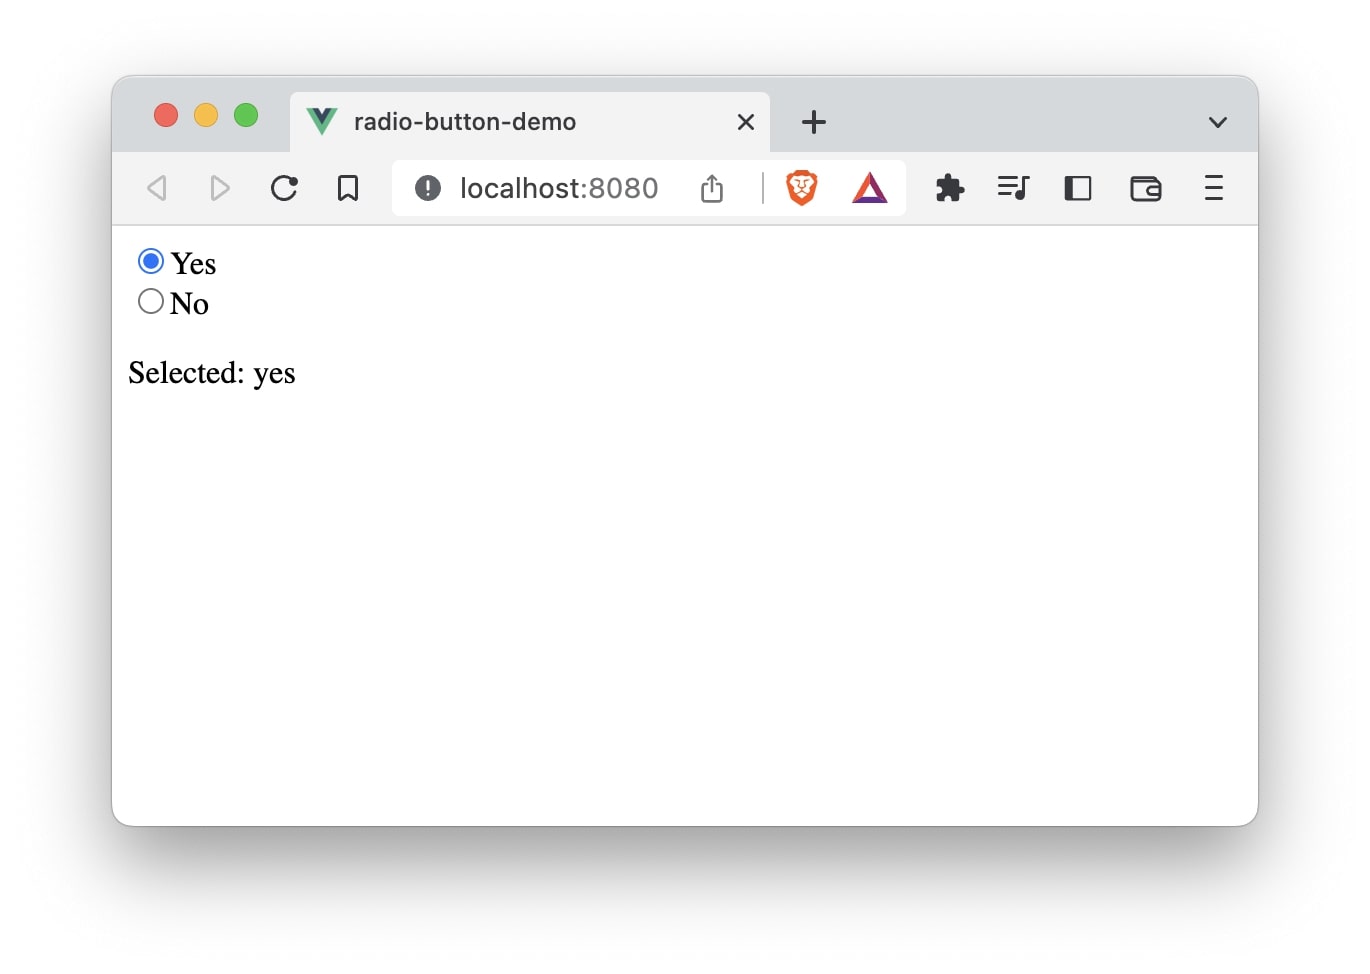
We make use of the v-model directive to create a two-way binding for the <input> tag with the type radio in Vue.
<input type="radio" id="yes" name="yes" value="yes" v-model="radioCheck" />
  <label for="yes">Yes</label><br />
  <input type="radio" id="no" name="no" value="no" v-model="radioCheck" />
  <label for="no">No</label><br />
We can define a data property radioCheck and assign it a default value.
data() {
  return {
    radioCheck: "",
  };
}
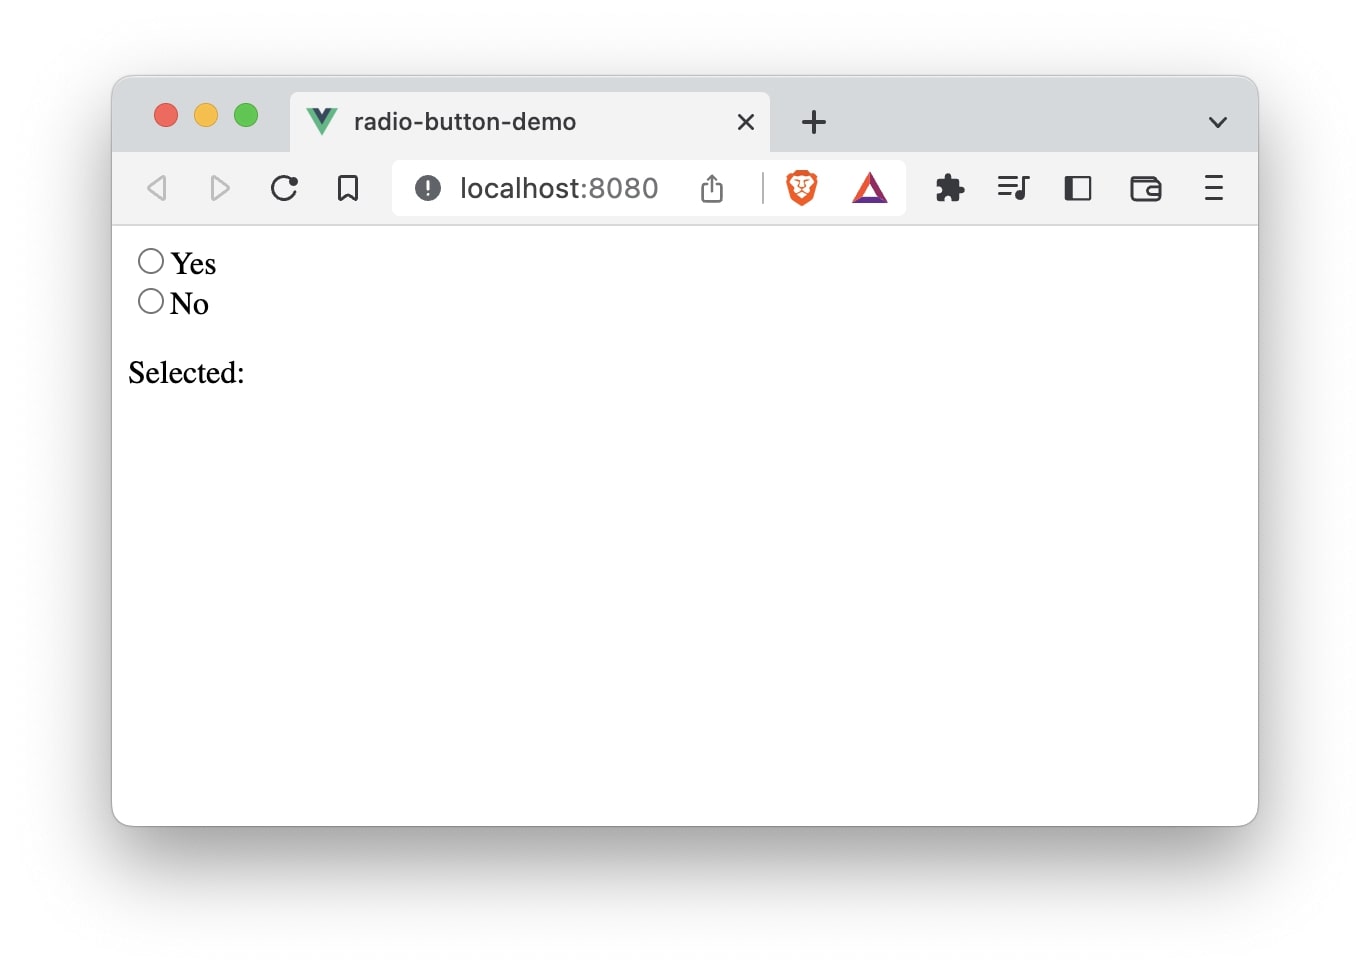
Let’s see it in action by adding the above code in the App.vue file of our project.
// App.vue

<template>
  <input type="radio" id="yes" name="yes" value="yes" v-model="radioCheck" />
  <label for="yes">Yes</label><br />
  <input type="radio" id="no" name="no" value="no" v-model="radioCheck" />
  <label for="no">No</label><br />
  <p>Selected: {{ radioCheck }}</p>
</template>

<script>
export default {
  name: "App",
  data() {
    return {
      radioCheck: "",
    };
  },
};
</script>
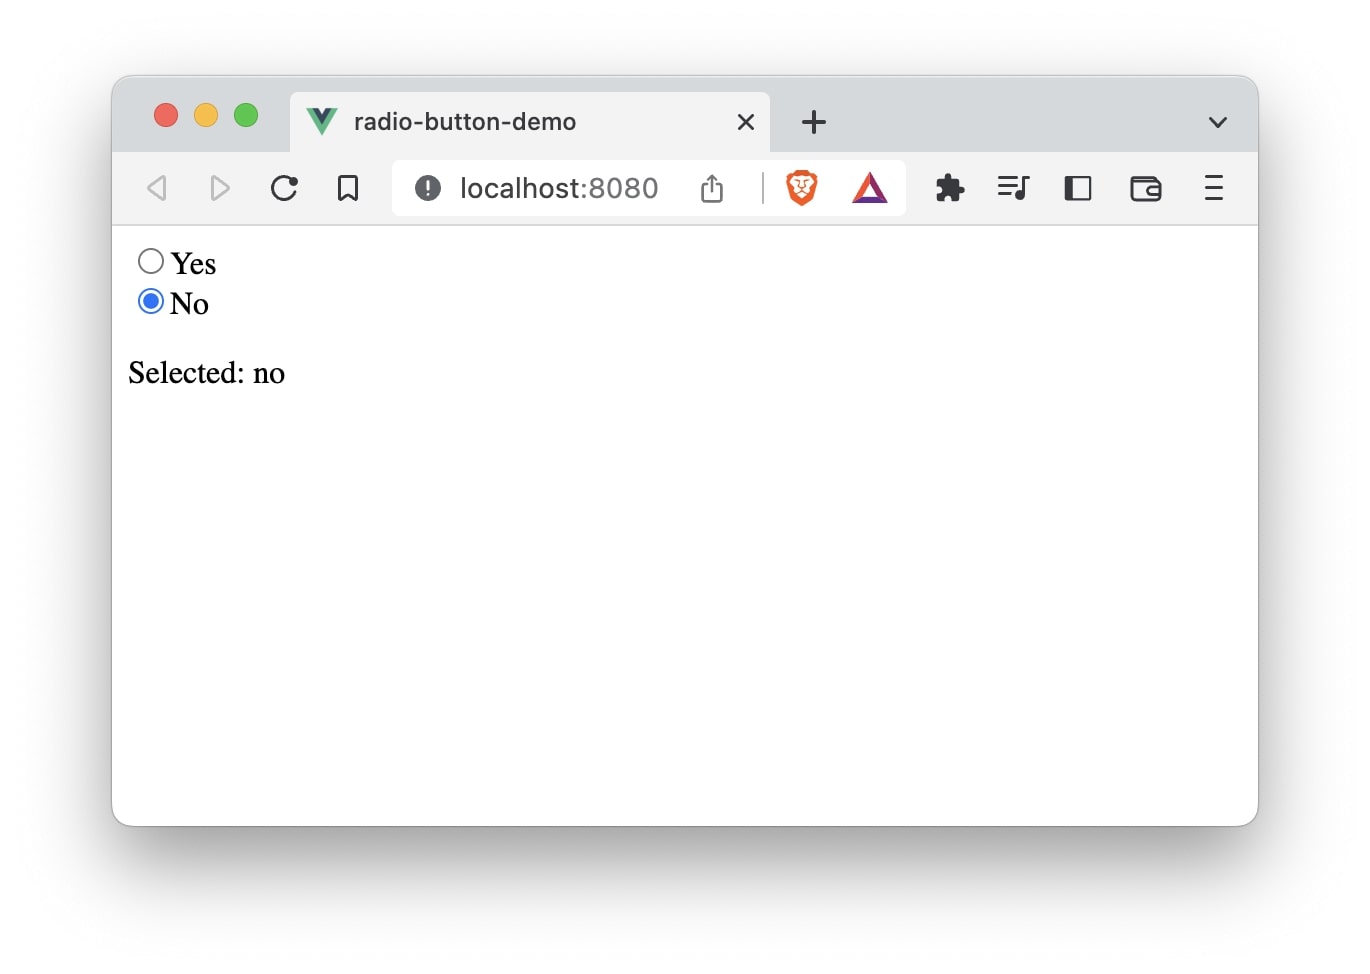
If we want to have a specific value on page load, we can assign that value to the radioCheck data property.
data() {
  return {
    radioCheck: "no",
  };
}
In this case, radio button no will be selected by default.
That’s it! 😃