In this article, we will look at how to make use of Vue CLI to create and run Vue.js applications.
Installation
To install Vue CLI, I will be using npm to install the package globally using the below command on my terminal.
npm install -g @vue/cli
Once the installation is successful, we will create our first Vue CLI application using the following command.
vue create first-project
Here, first-project is the name of the project. You can name it as per your choice.
Once, you run the command, you will be prompted with different choices.
Vue CLI v5.0.8
? Please pick a preset: (Use arrow keys)
❯ Default ([Vue 3] babel, eslint)
  Default ([Vue 2] babel, eslint)
  Manually select features
You can select any one or can also manually select features according to your requirement. I will choose Default ([Vue 3] babel, eslint)
Once, the installation is complete, you can navigate to the folder and run the server to load the application.
$ cd first-project
$ npm run serve
The application by default will run on port 8080.
App running at:
  - Local:   http://localhost:8080/
  - Network: http://192.168.1.3:8080/
Let’s open the URL.
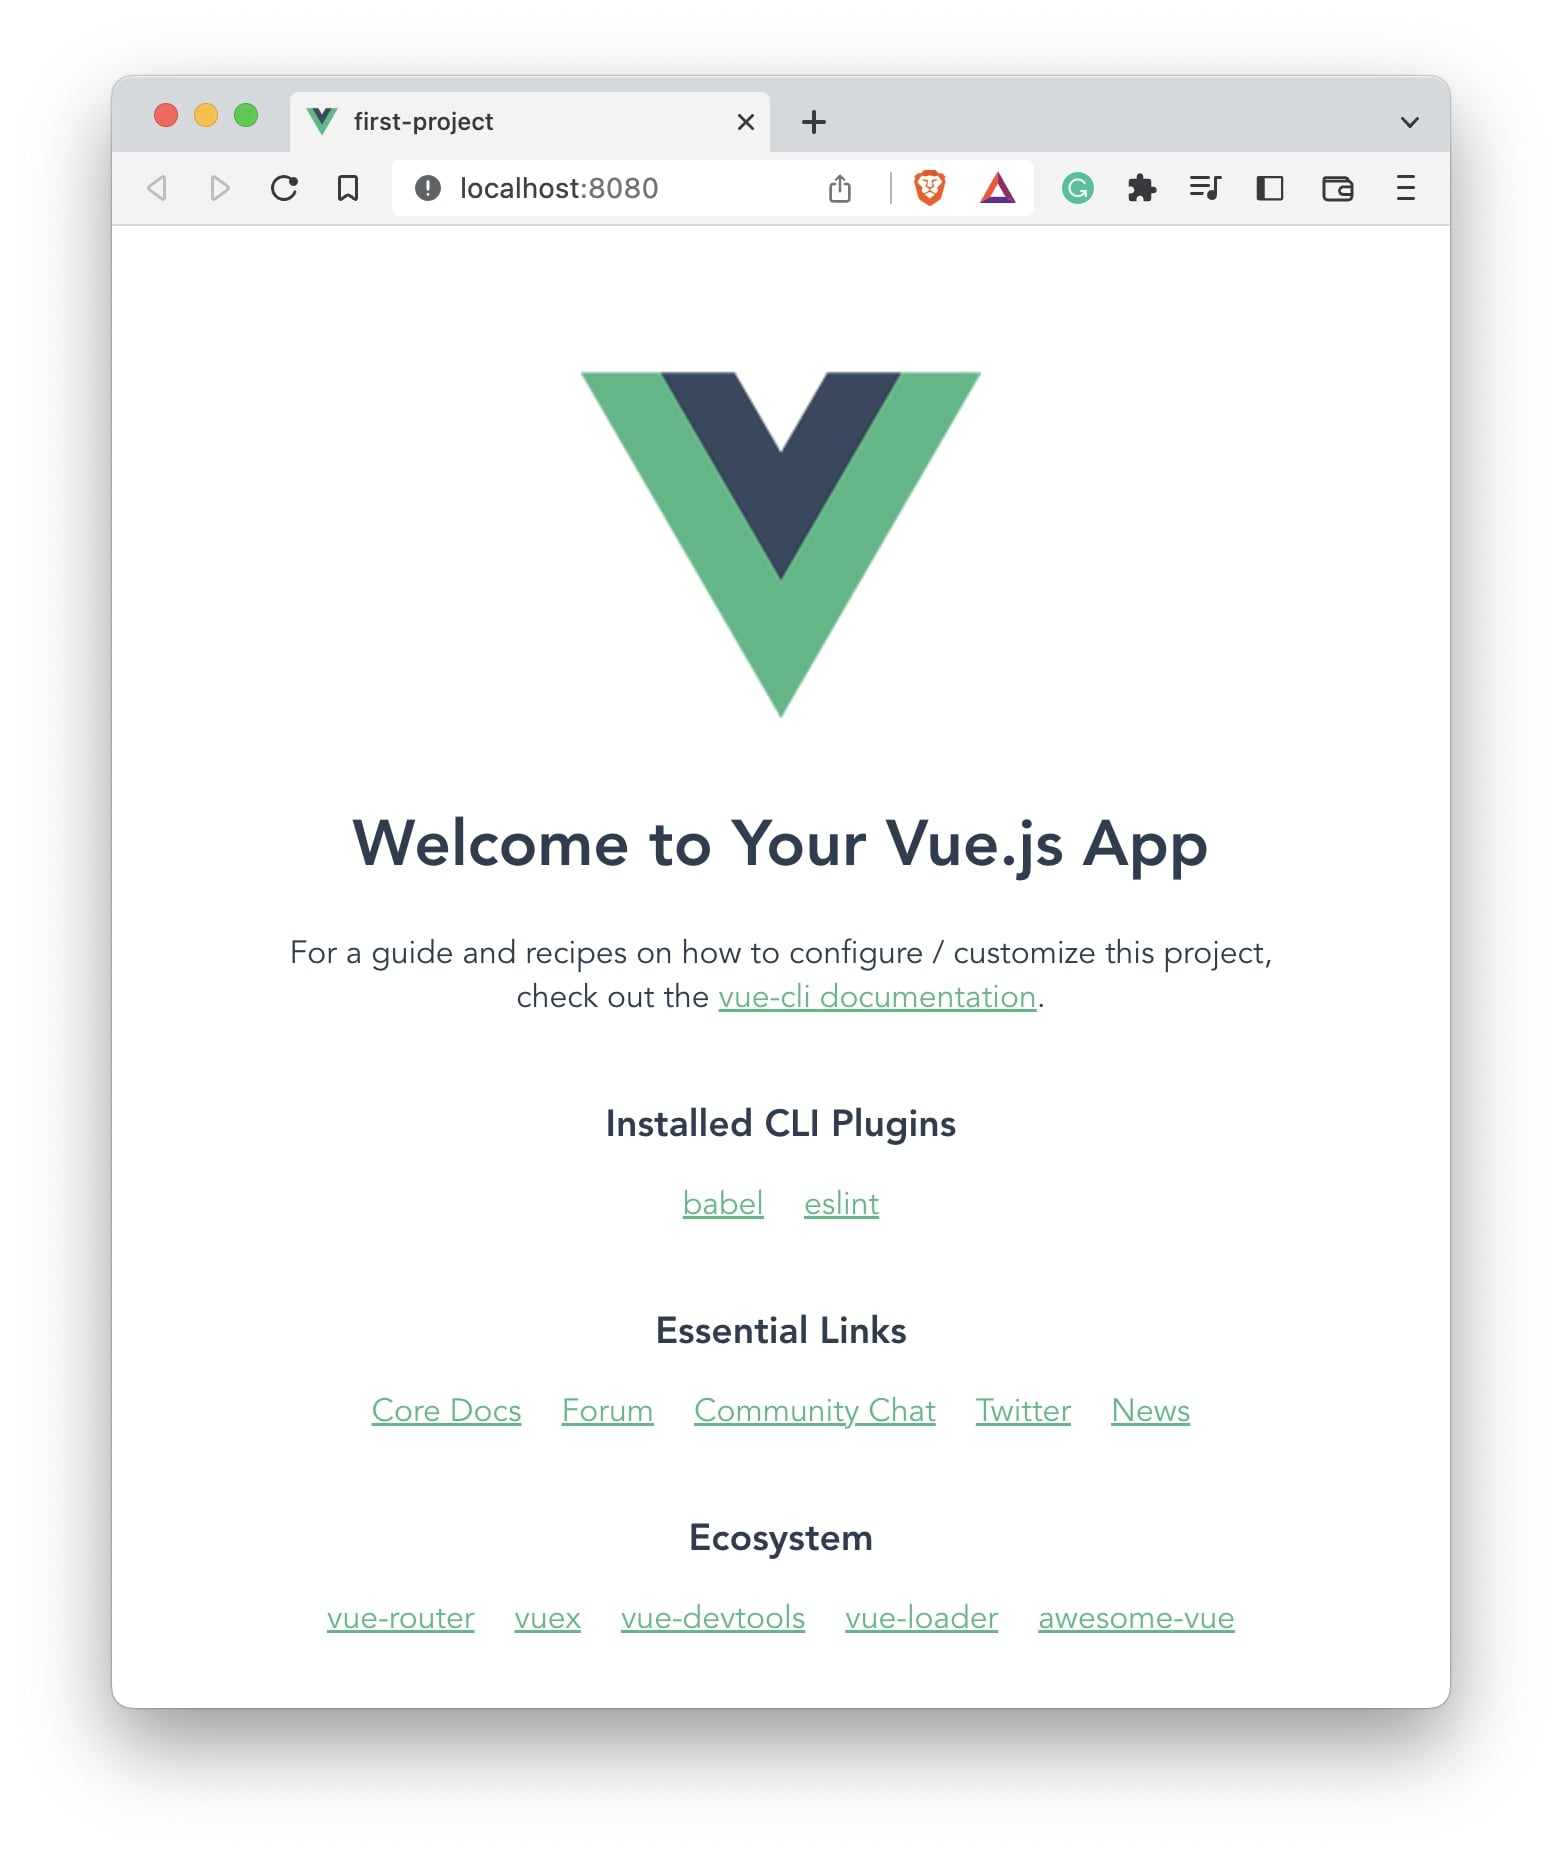
If you see a page like the above, it means your application is installed and running successfully without any errors.
This is how the folder structure of the code should look like:
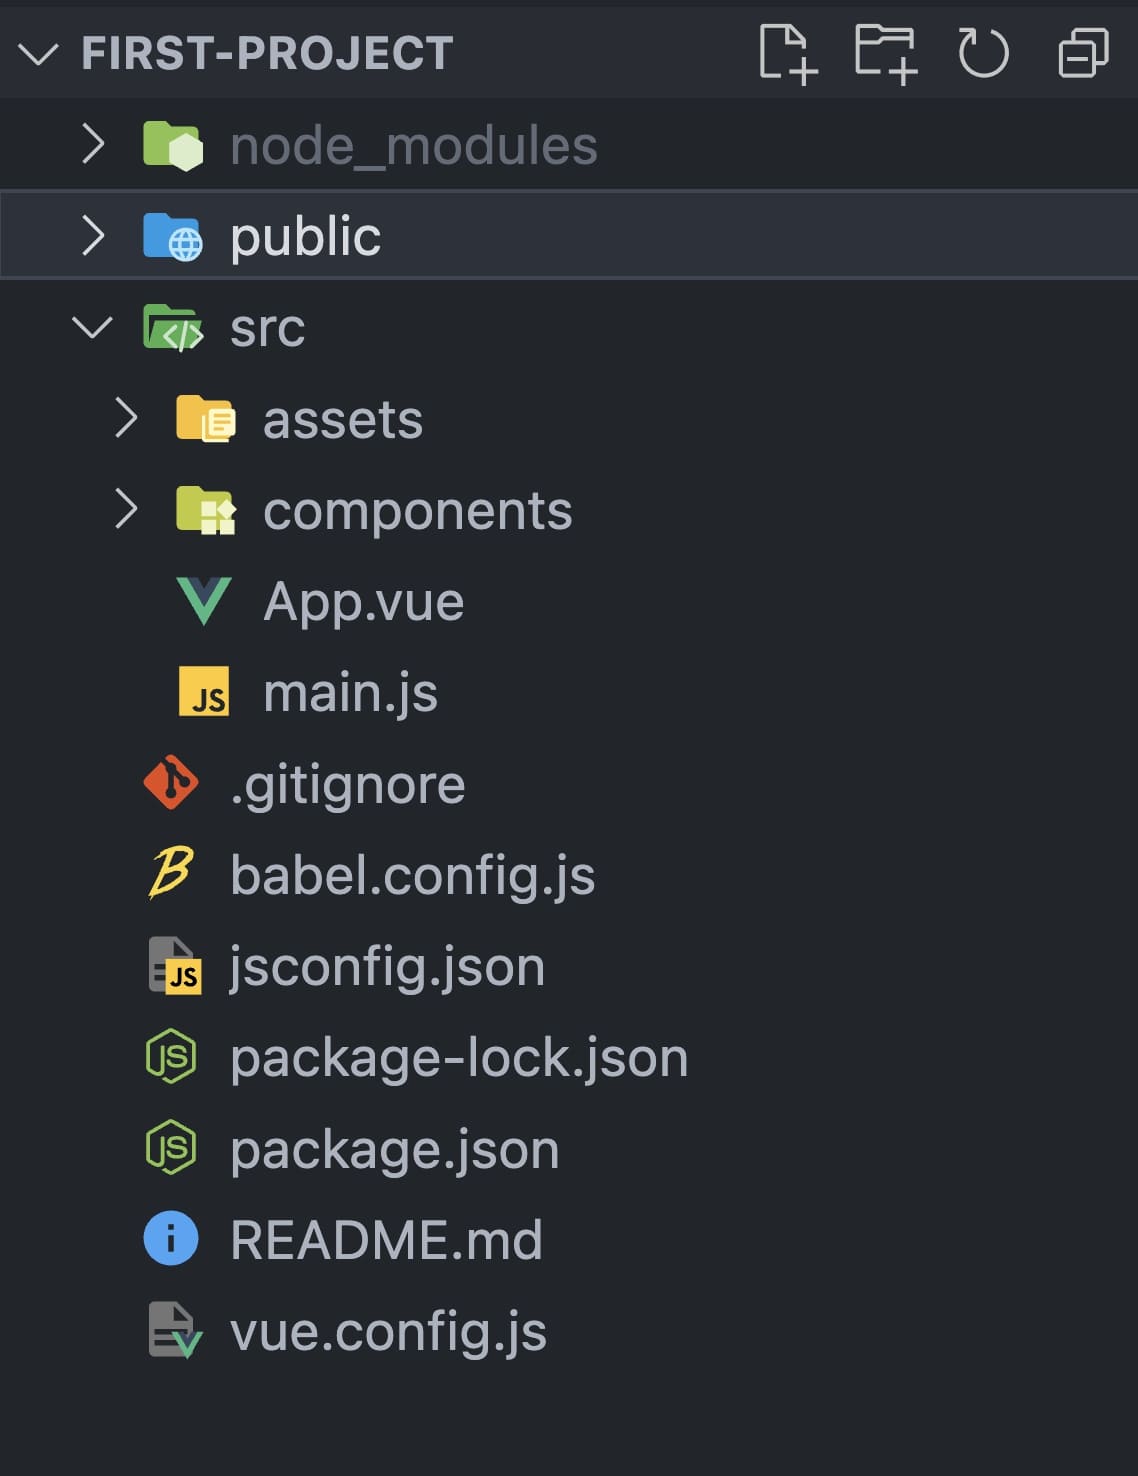
What we are mostly interested in is the src folder which will contain the bulk of our core code.
It contains assets, components and an App.vue file. Notice this file of .vue extension. Let’s open this file and look at the code,
<template>
  <img alt="Vue logo" src="./assets/logo.png">
  <HelloWorld msg="Welcome to Your Vue.js App"/>
</template>

<script>
import HelloWorld from './components/HelloWorld.vue'

export default {
  name: 'App',
  components: {
    HelloWorld
  }
}
</script>

<style>
#app {
  font-family: Avenir, Helvetica, Arial, sans-serif;
  -webkit-font-smoothing: antialiased;
  -moz-osx-font-smoothing: grayscale;
  text-align: center;
  color: #2c3e50;
  margin-top: 60px;
}
</style>
The .vue extension file contains three different tags.
- <template> - This is where you will write all the HTML code.
- <script> - For writing javascript code
- <style> - For writing any CSS code.
Notice, we also import an external file into App.vue using the following line of code.
import HelloWorld from "./components/HelloWorld.vue";
What this means is we want to import a file named HelloWorld.vue from the ./components/ folder of the project.
We will delete this default file and create our own component file.
rm src/components/HelloWorld.vue
Similarly, we will remove all the code that is not required in App.vue
<template>
</template>

<script>

export default {
  name: 'App',
  components: {
  }
}
</>

<style>
</style>
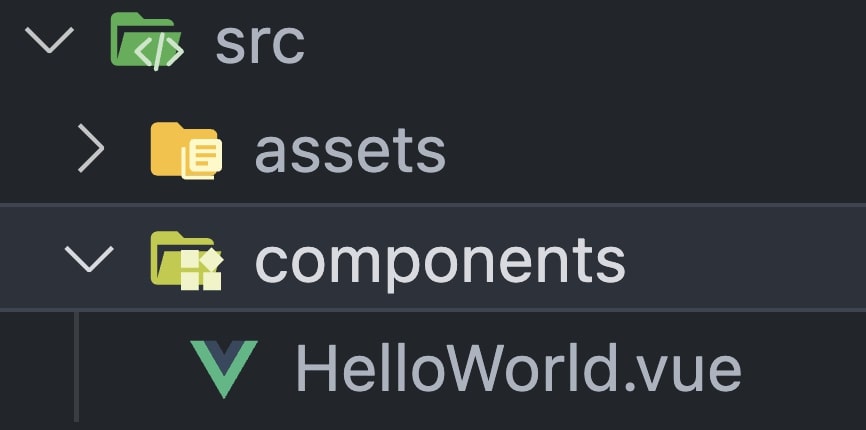
Let’s create a component called as employee-list which holds a few details of employees.
We will begin by creating a file called as EmployeeList.vue
touch src/components/EmployeeList.vue
For demonstration purposes, we will hardcode a few employee objects and display them in a list.
// src/components/EmployeeList.vue
<template>
    <ul>
        <li v-for="employee in employees" :key="employee.id">
            {{ employee.id }} - {{ employee.name }}
        </li>
    </ul>
</template>

<script>

export default {
    data() {
        return {
            employees: [
                {
                    id: 1,
                    name: 'Mickey'
                },
                {
                    id: 2,
                    name: 'Donald'
                }
            ]
        }
    }
}
</script>
We have a employees property, an array that holds two objects which have id and name properties.
Using v-for we are looping over the employees data in the <template>.
Next, we will import this file in our App.vue file.
<template>
  <employee-list></employee-list>
</template>

<script>
import EmployeeList from './components/EmployeeList.vue';

export default {
  name: 'App',
  components: {
    EmployeeList
  }
}
</script>

<style>
</style>
The page should now look like below:
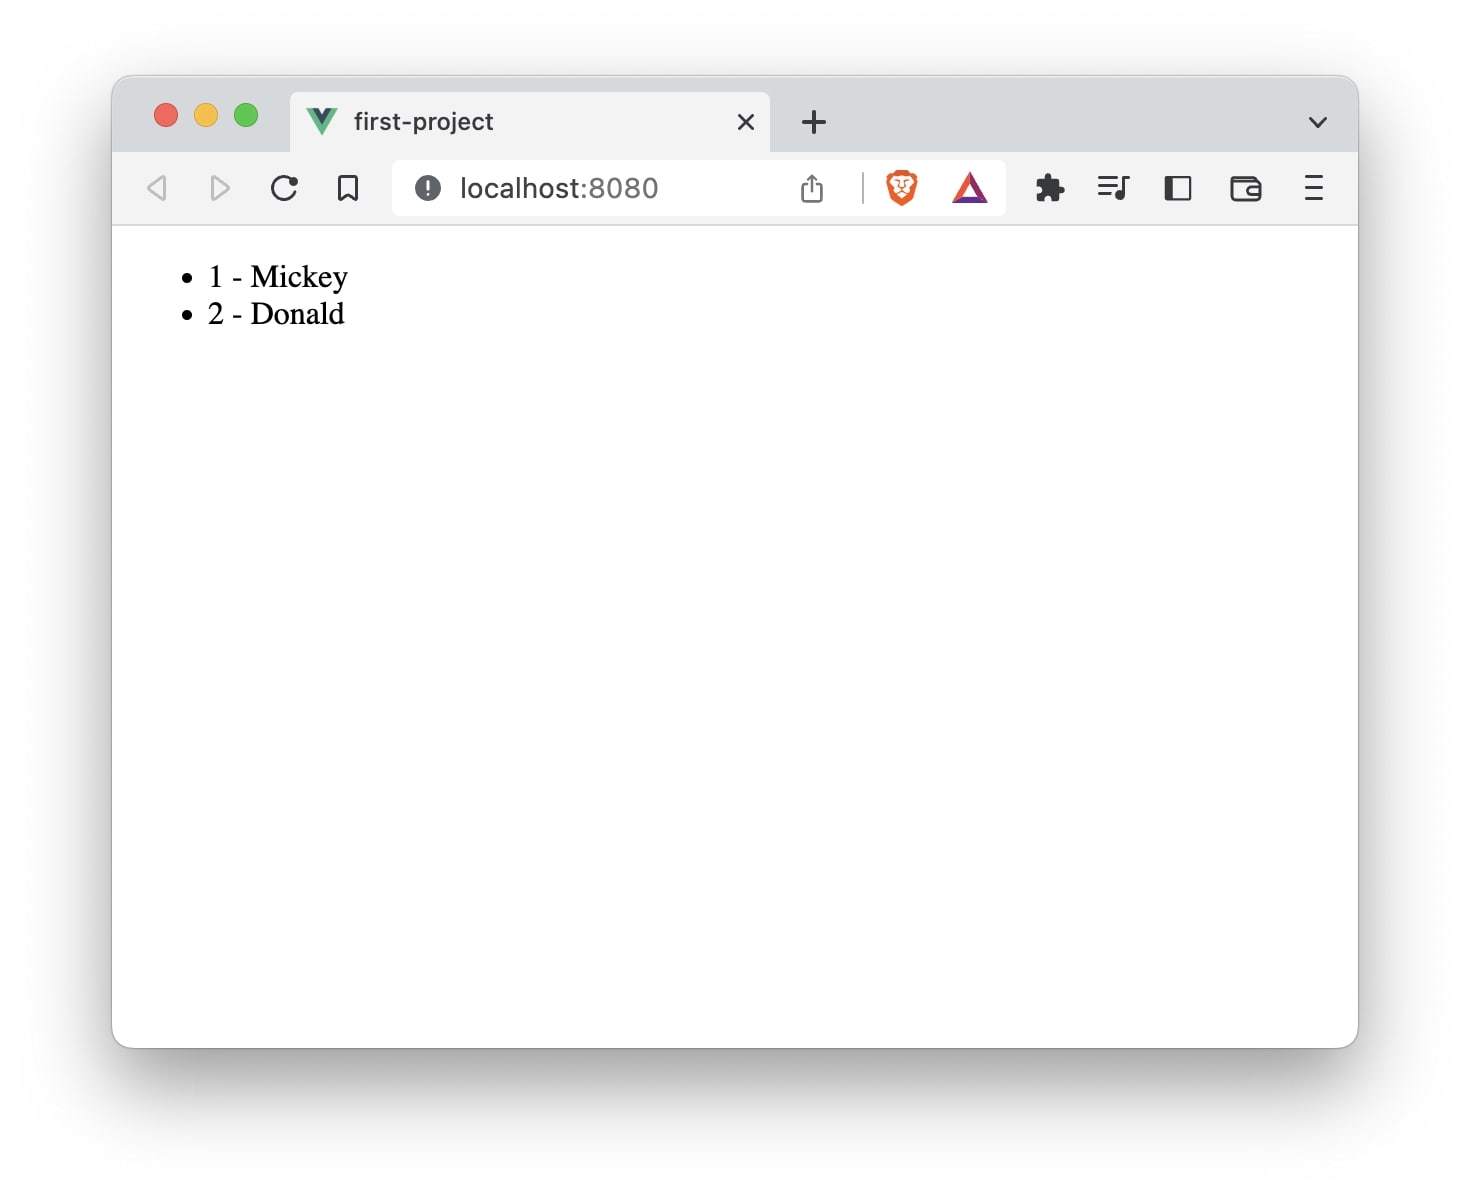
This should give us a good start. We can extend this code to build more complex applications as per our requirements.