The v-for directive in Vue is used for looping over an array or object. In this article, we will take a close look at the v-for directive with examples.
v-for loop x number of times(number range)
We will start with a simple example of looping ‘x’ number of times using the v-for directive. In this example, we will loop from 1 to 10 and display each number using the list.
<div id="app">
		<ul>
			<li v-for="n in 10">{{ n }}</li>
		</ul>
	</div>
The v-for directive in the above example will loop through 10 times and display the li elements with content from 1 to 10.
Output:
Start v-for range from 0 (v-for index number)
The value of v-for directive starts from number 1. If we want to display a number range starting from 0 then we can make use of the second argument for index value like below.
<div id="app">
		<ul>
			<li v-for="(n,index) in 10">{{ index }}</li>
		</ul>
	</div>
Output:
This will display values from 0-9.
Specify v-for range start and endpoint
Vue does not provide any method that we can use to get a specified range like, for example, range(2,23). But, if you want to specify a start and end value, one way of doing it is by calling a custom method which returns an array of the specified range.
<div id="app">
		<ul>
			<li v-for="n in range(2,23)">{{ n }}</li>
		</ul>
	</div>

	<script>
		var app = new Vue({
			el: "#app",
			methods:{
				range : function (start, end) {
					return Array(end - start + 1).fill().map((val, i) => start + i)
				}
			}
		})
	</script>
Using v-for on an array of strings
Like numbers, we can also loop through an array of strings.
<div id="app">
		<ul>
			<h2 v-for="name in names">
				{{ name }}
			</h2>
		</ul>
	</div>

<script>
	var app = new Vue({
		el: "#app",
		data: {
			names: ["John", "Doe", "Foo Bar"]
		}
	})
</script>
Get the last item in v-for
To get the last item in the v-for loop, we can make use of the v-if directive and the index value.
<div id="app">
		<ul>
			<li v-for="(fruit,i) in fruits" :key="fruit">
				{{ fruit }}
				<span v-if="i == fruits.length - 1">(Last fruit in the list)</span>
			</li>
		</ul>
	</div>

	<script>
		var app = new Vue({
			el: "#app",
			data: {
				fruits: ['Apple','Banana', 'Strawberry', 'Mango']
			}
		})
	</script>
Or you can also use computed as follows:
<div id="app">
		<ul>
			<li v-for="(fruit,i) in fruits" :key="fruit">
				{{ fruit }}
				<span v-if="i == lastFruit">(Last fruit in the list)</span>
			</li>
		</ul>
	</div>

	<script>
		var app = new Vue({
			el: "#app",
			data: {
				fruits: ['Apple','Banana', 'Strawberry', 'Mango']
			},
			computed: {
				lastFruit() {
					return this.fruits.length - 1;
				}
			}
		})
	</script>
Create a dropdown using v-for in select option
Below is a simple example that creates a dropdown option using v-for directive.
<div id="app">
		<select name="products">
		  <option v-for="product in products" :value="product">{{ product }}</option>
		</select>
	</div>

	<script>
		var app = new Vue({
			el: "#app",
			data: {
				products: ["t-shirt", "shoes", "jacket"]
			}
		})
	</script>
Output:
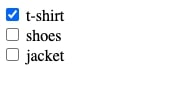
Create checkbox using v-for
<div id="app">
		<div v-for="(product,index) in products" :key="product.name">
			<input type="checkbox" :id="index" :name="product.name" :value="product.name" v-model="product.check">
			<label>{{ product.name }}</label><br>
		</div>
	</div>

	<script>
		var app = new Vue({
			el: "#app",
			data: {
				products: [
					{name: "t-shirt", check: true},
					{name: "shoes", check: false},
					{name: "jacket", check: false}
				]
			}
		})
	</script>
Output:
Create radio buttons using v-for
<div id="app">
		<div v-for="(product,index) in products" :key="product.name">
			<input type="radio" :id="index" name="Product" :value="index" v-model="selectedProduct">
			<label>{{ product.name }}</label><br>
		</div>
	</div>

	<script>
		var app = new Vue({
			el: "#app",
			data: {
				products: [{name: "t-shirt"}, {name: "shoes"}, {name: "jacket"}],
				selectedProduct: 2
			}
		})
	</script>
Output:

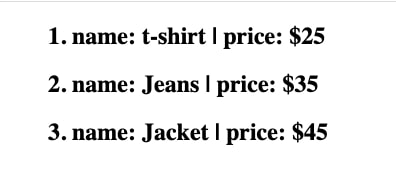
Using v-for on an array of objects
The v-for directive makes it convenient to iterate over an array of object. Just like the range, you can loop through each object of an array and display its key values.
<div id="app">
		<ul>
			<h2 v-for="(product,i) in products">
				{{ i + 1 }}. name: {{product.name}} | price: {{ product.price }}
			</h2>
		</ul>
	</div>

	<script>
		var app = new Vue({
			el: "#app",
			data: {
				products: [
					{name: "t-shirt", price: "$25"},
					{name: "Jeans", price: "$35"},
					{name: "Jacket", price: "$45"}
				]
			}
		})
	</script>
Output:
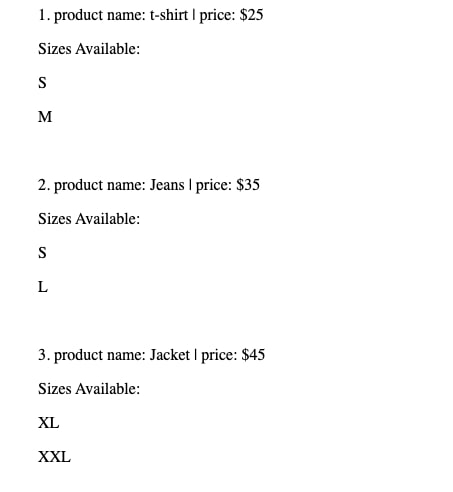
v-for on multiple array / multidimensional array
There may be a situation where you want to loop through multiple or multidimensional arrays. You can specify v-for inside another v-for directive. In the example below, we have products array which contains objects and in each object, there is an array that holds the sizes available.
<div id="app">
		<ul>
			<div v-for="(product,i) in products">
				<p>{{ i + 1 }}. product name: {{product.name}} | price: {{ product.price }}</p>
				<div>
					<p>Sizes Available:</p>
					<p v-for="size in product.sizes">{{ size }}</p></br>
				</div>

			</div>
		</ul>
	</div>

	<script>
		var app = new Vue({
			el: "#app",
			data: {
				products: [
					{name: "t-shirt", price: "$25", sizes: ['S', 'M']},
					{name: "Jeans", price: "$35", sizes: ['S', 'L']},
					{name: "Jacket", price: "$45", sizes: ['XL', 'XXL']}
				]
			}
		})
	</script>
Output:
v-for on image tag
<div id="app">
		<img v-for="image in images" :src="image.url" :alt="image.alt">
	</div>

	<script>
		var app = new Vue({
			el: "#app",
			data: {
				images: [
					{url: "https://via.placeholder.com/150", alt: "Image alt 1"},
					{url: "https://via.placeholder.com/200", alt: "Image alt 2"},
					{url: "https://via.placeholder.com/250", alt: "Image alt 3"}
				]
			}
		})
	</script>